Cobble it together and gobble it up!
Showing posts with label Birthdays. Show all posts

Monday, 1 July 2013

Cake Pop Wedding Cake


This is the result of the conversation I had with a good friend nearly 2 years ago. It was at Charlie's christening when she tried her first ever cake pop and it blew her mind and she said 'promise me, if I ever get married, please can you make these as my wedding cake?' And I foolishly agreed! Little did I know there was no such precedent on the internet to copy! So I had to wing it and I nearly pooped my pants with the stress of it!
Not only was it the wedding cake it was also the dessert!
So I made 277 chocolate cake pop truffles (no sticks!) coated in either white, milk or dark chocolate. I used Rachel Allen's chocolate cake recipe from her Bake book for the base recipe.
I made them in batches - not all at once! And froze them.
They defrosted on the drive to the venue ready for assembly.
Then I was winging it completely! I made a cone out of silver thin card, it had a slight sheen to it. I put it on top of a cone shaped vase to give it additional support in case it fell in under the weight of itself. This wasn't necessary.
Then I assembled by sticking them on the cone with the correct coloured melted chocolate, starting at the base and working up. As it dried they were stuck fast. I filled in the gaps with some of the bridal flowers.
And gave it a feature at the top to finish it off!
It didn't use 277! It probably took about 120 so I could have gone bigger but I wasn't sure and didn't want to risk it. Fortunately it worked well like that anyway. There was enough for everyone to have pudding without disturbing the cake. Late in the night, after the partying, the odd pop started to be yanked off the 'cake' as people walked past!
If I did it again, I think I would make different size pops so that I could work down to the smaller ones near the top.


Saturday, 1 June 2013

Lego party food & games & party bags

We had a little birthday tea for Max's birthday and it had a lego theme.
There is tonnes of ideas on the net. This is just the bits I pulled together for his little party tea.

1.Legohead marshmallow cakepops
Dip marshmallows in yellow food paste coloured, melted, white chocolate. And topped with a yellow smartie or skittle. Face painted on with black icing.
Lego head tophat/cakepops
2. Lego brick biscuits. 
Nigella's sugar biscuits covered in coloured water icing and 6 smarties or skittles would work too (with brighter colour matching)

Lego brick biscuits
3. Lego brick sandwiches
This idea went down a storm and I have made them several times since. By request for lunch boxes and for our early doors car journey to legoland! The photo isn't great but hopefully you get the idea. Make a simple sandwich, cut off the crusts and cut in half horizontally. Using a small  round cutter, cut multiple rounds from another piece of bread and stick on 6 to the sandwich using philly or spread. Easy and highly desirable by small and big boys alike!
4. Lego brick juice boxes/cartons.
I found a free printable on one of my internet trawls (sorry I can't find it to post it here) and printed it on coloured paper and wrapped around the juice boxes. Fab idea!


Non lego related food products were served in lego/duplo (sterilised) box/containers. That was a job I could delegate to the boys and kept their hands out of the way for a while!

Duplo made food serving vessel
Other decoration ideas I used;


1. Birthday message written in lego.


2. I found and downloaded a free lego font and  used it to make this backdrop sign.
3. The lego head made of cardboard. which was used in one of the games as well as for decoration.
4 And lots of print outs of head found on the internet.

Games we played
1. Pin the head on the lego man!
2. Throw the lego bean bag in the lego head.

Party bags included
1. Lego bean bags
2. Lego name plates
3. Lego erasers
4. Lego cake
5. Lego pop
6. Homemade lego colouring book


Wednesday, 1 May 2013

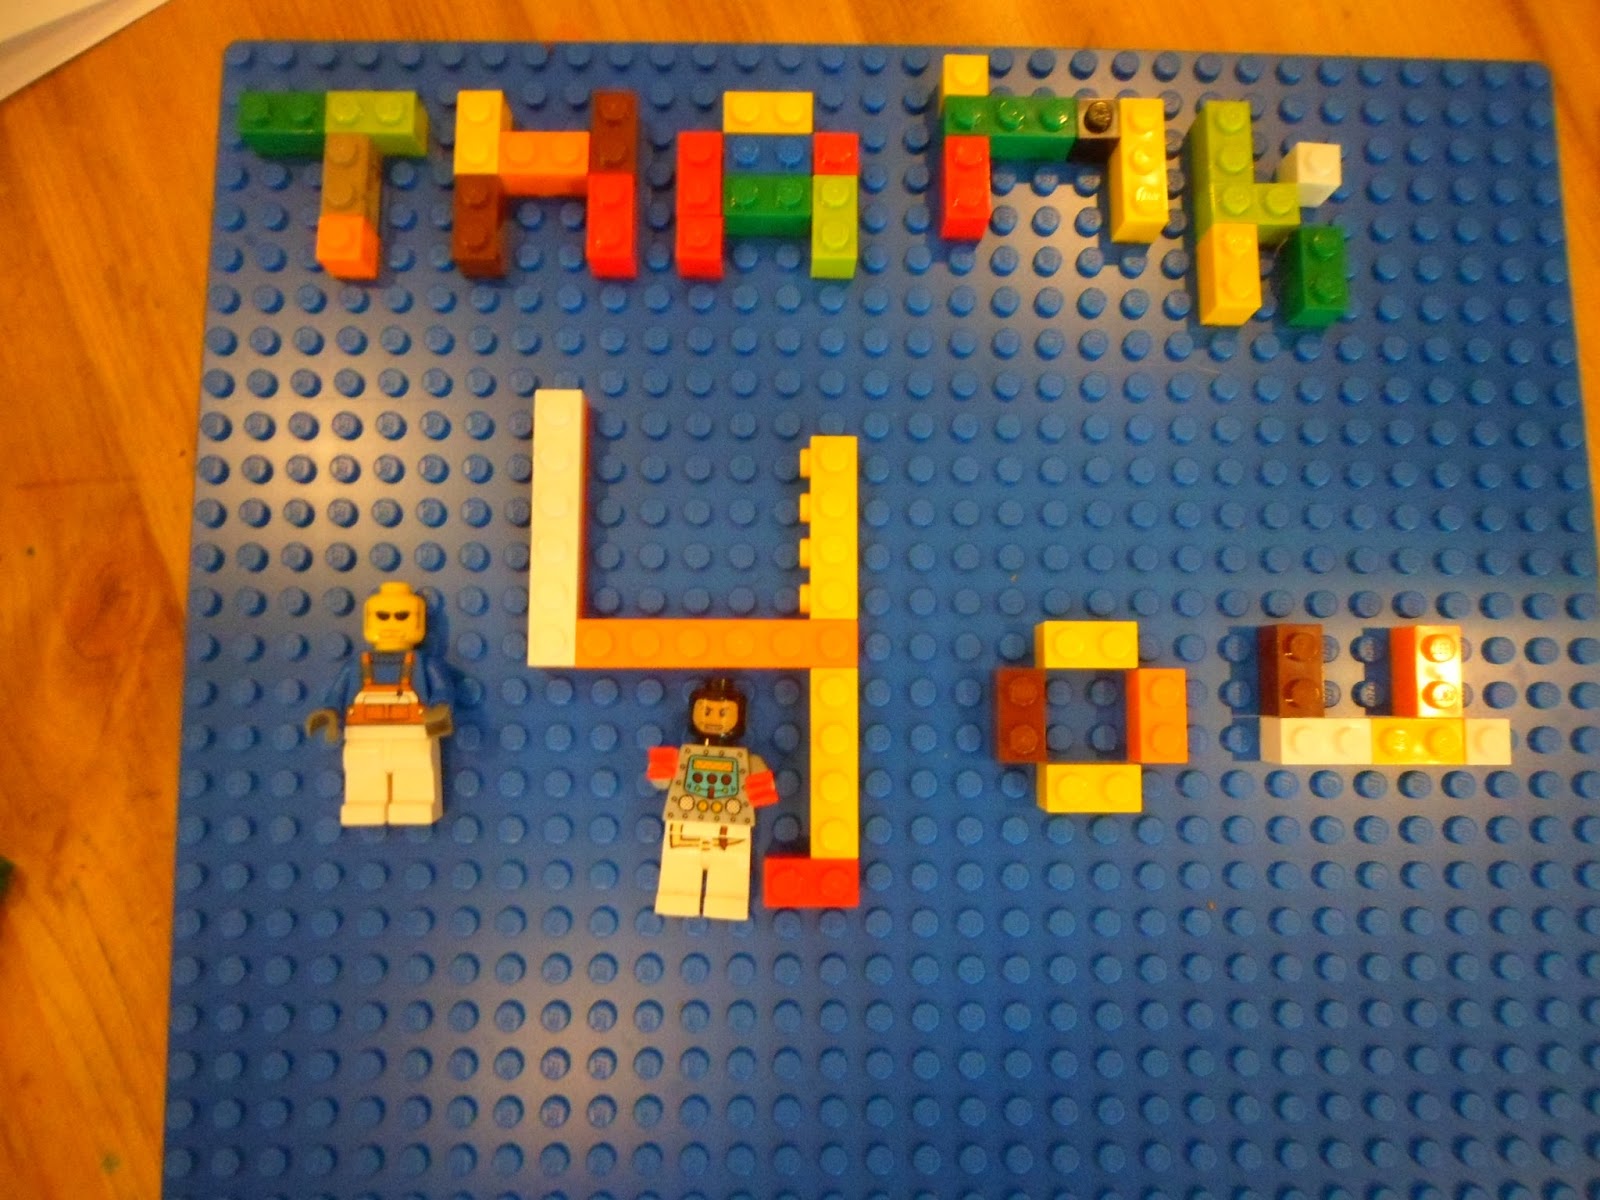
Lego party invite and thank you letters


Hidden design lego brick cake


 Max's fifth birthday and a birthday treat of a trip to legoland meant the obvious choice for the cake was going to be somehow connected to lego.
Trawling the internet for ideas, I couldn't find what I wanted which was a lego brick, but that looked like it was built of lego bricks when you sliced it. I was excited by the success of the polka dot Mr Tumble cake and wanted to experiment more with hidden design cakes. So I had a think and this is what I came up with.
A 'sixer' and a 'fourer'. Basic fondant icing covered rectangular and cubic cake but....


 ...with the hidden surprise of looking like it was built of lego cake bricks!

First I baked 4 food paste coloured cakes. I used Nigella's buttermilk birthday cake recipe from Domestic Goddess which promises a stronger shape holding/weight bearing cake, which I confess I can't dispute!
I divided a square cake tin with parchment to save time. I cut off the browned edges after they had cooled.

I then cut into pieces trying to think what it would look like cut in one direction. And stuck them together with buttercream icing as mortar.
I built up three layers like this.
 This is a close up of the building brick lego, inside cake design.


Saturday, 2 February 2013

Mr Tumble's Spotty Birthday Cake (inside and out!)


The Hidden Spotty Design


Charlie's second birthday already and time to think of another cake! He is mad for Justin and Mr Tumble on Something Special (CBeebies) and so I thought we could have a go at a spotty cake. But that was too dull and so I thought I would have a bash at a hidden design cake and make it spotty on the inside too as a surprise.
I started by making the standard pound cake mix but split up the mix into 6 and added food colouring to make different colours.
I baked these in a mini muffin tray sprayed with cake release for about 15mins.
I then made another standard pound cake vanilla mix. I placed the cooked (and cooled) mini muffin cakes in a standard cake tin and spread the raw mix over and around the precooked ones. I then baked this for 22 mins (a few mins less than I ordinarily would). You have to be careful when testing it, to make sure the skewer goes in the vanilla mix not one of the spots!
I decorated with precoloured fondant icing (as the colouring is more intense than when you add it yourself).
It just so happened that the give away gift for Something Special magazine was a Mr Tumble figurine this month so I stood him next to the cake to alleviate any doubt that it was just a spotty cake!!!
Colourful mini muffins. A.K.A The Spots

The cooked 'Spots' covered in the vanilla raw cake mix, ready for their second bake.


Saturday, 9 June 2012

Strictly Come Dancing Party- Glitter Ball Birthday Cake

Glitter/Mirror Ball Birthday Cake - like the Strictly Come Dancing trophy?


The other Strictly Come Dancing themed party item I made was the cake! It was ambitious (for me anyway) but I was up to the challenge, ably assisted by my mum and friend. I had to be as my sister is always upset that she can't be at my boys parties, not because she loves her nephews so (though she really does) but because she wants to eat their cakes!
Glitter Ball Cake - in progress
I forgot to take any photos while I was making it until this point!
My mum baked 2 cakes for me. Lovely chocolate cakes and she rented a soccer ball (dome) mould to make the 2 halves of the whole ball.
I then sandwiched these, one on top of the other with some chocolate butter icing. I spread the whole ball with a thin layer of butter icing to ensure the fondant icing would stick. I used grey fondant icing. I rolled a large circle, lay it over and then cut away the excess to ensure it folded around the ball to the base plate. I rolled the remnants as thin as I could and cut it into squares. I stuck these onto the original fondant layer with a little heated peach jam. 
I sprayed this whole thing with edible silver lustre spray. And sprinkled with ample edible glitter!
I decorated the plate with some black fondant shapes (from patchwork cutters) and moulded a 3 and a 0 out of pink fondant (around silver-foil forms) And stuck these to the top of the cake with cocktail sticks.
I also copied the font from Strictly Come Dancing to write my sister's name (Julia) in pink icing and stuck this on to make it look more like the Strictly Come Dancing trophy in cake form!
And ta-da!!!
The only trouble was getting it up the bumpy, windy, hilly, narrow roads to the venue on my own. Unfortunately I had to brake suddenly to avoid a car coming the other way and the top slip across the bottom and looked less than perfect on arrival!

Friday, 8 June 2012

Strictly Come Dancing Party Glitter Ball Pinata


 The last item I made for the party was a Glitter Ball pinata.
In retrospect should have sprayed silver under the squares as if you looked carefully could see  the newspaper)

You can just about see the pull string at the bottom (attach the string inside to a wide bit of card so pulls the whole base out)

Punch balloons covered in 2 layers of newspaper dipped in flour and water - drying outside (as drips!)
Boys playing with the punch balloons first


I thought about this for a while and did some online research. This is the youtube clip I found on how to build one. I didn't follow it exactly. I wanted it to be a pull-pinata rather than a bash one so I made a trap door as shown here. I made the squares a ruler width as that was easier and quicker. I ended up using no more nails to stick them on because that was all I had to hand. I filled it with metallic foil wrapping paper that I cut into little square/rectangles, glitter and a few sweeties (though not too many as I was worried about how strong the trap-door would be!) I made it with the image in my mind that my sister would pull it open at the end of the night (after it had served it's dual purpose as a glitter ball decoration) and get showered with confetti and glitter.
It worked well except that there was no where to hang it!

Wednesday, 6 June 2012

Strictly Come Dancing Surprise Party!

This weekend was my sister's surprise 30th birthday party. So now I can post freely without fear of giving the game away! 
As usual I had a few creative ideas up my sleeves that I just couldn't stop myself making! 
First I made some judges paddles. I envisioned everyone holding them up as she walked in. A bit cruel but as the older sister I feel I am entitled! So I made these out of cardboard, spray painted the fronts gold and silver with a bit of extra glitter. I painted the backs black and then using a homemade template sprayed the number 30 on the front using black spray paint, for speed. They didn't have the most perfect finish but they got the point across!!!

They also doubled as fans for the entire evening as a bonus!
More strictly party posts to follow...


Wednesday, 23 May 2012

Cookie monster beanbag aim & throw game


This was another monster inspired game that we made and played at Max's monster party. Simple as simple can be, just a cardboard box, painted blue with a mouth cut out and two eyes stuck on to look as much like Sesame streets cookie monster as possible. And some simple felt, cookie shaped, beanbags to toss into the target from a distance. All cobbled together in less than 30mins and cost basically nothing!

Other monster games we played (other than the monster modelling kits shown below), included;
Monster Tag
Pass the monster
Monster statues
Monster dancing to 'monster tunes' such as Monster mash, Lady gaga Monster, She's a monster, a beautiful monster & What's that coming over the hill?Is it a monster?

Tuesday, 22 May 2012

Monster modelling kits as a Monster party game

More from the monster back log! Here are some homemade monster modelling playdough kits I made as in-party entertainment! They made for a nice change to the usual party games. They were super easy to pull together, I just made a couple of batches of homemade playdough (see the homemade playdough post) and put a couple of balls in a sandwich bag with some googly eyes, pipe cleaners and cut up straws. I then made up a header on powerpoint, printed them off and stuck them to the top of the bags.
We broke them out during the party but you could just as easily give them as great monster party favours.

This was my favourite though!


Monday, 21 May 2012

Monster mouths

What a super cheeky monster1

I just realised there is a load of stuff I intended to post from Max's party that I never finished. So here is one about some special straws I made, to make the monsters that came even more monstery! Inspired by another pin. This one in fact. I made them from foam sheets like I used for the feet, just glueing together with pritt stick and making up some mouth shapes.

Wednesday, 2 May 2012

Monster birthday cake


Here is the monster birthday cake I made for Max's Monster Birthday party. It was inspired thanks to this pin.
It was just a regular chocolate sponge, plus some star nozzle piped orange flavour (used squash concentrate) butter icing. The cake pops were made with a chocolate and marmalade cake I baked, mushed with chocolate fudge icing (shop bought), dipped in melted white chocolate with fondant icing eye lids, iris and pupils. The mouth is fondant icing also.

Friday, 27 April 2012

Monster teddies

As there are only a few kids coming to Max's Monster birthday party I thought I would make them each a Monster stuffed toy to take home instead of a party bag filled with crap they don't need and stacks of sweets!
So here they are...
Meet the Monsters!

The idea came from a stuffed toy a friend bought Ollie 6 years ago. I think it was called an Ugly Doll.
The ones I made are made from acrylic felt and the hollow fibre stuffing from a pillow. I just hope they hold up to the battering they get. Surprisingly all three of my boys love them. I was sure the 6 year old would think they were too babyish but he wants me to make him one too!
There will be a few more 'monster' posts over the next couple of days as plans for the party come together...


Related Posts Plugin for WordPress, Blogger...